How to Set Up Drip Irrigation (Water Smarter, Not More)
DIY drip irrigation design and installation for Utah gardens—efficient watering that saves water and time.
TL;DR
- Time: 6 hours
- Cost: $$
- Yield: Automated watering, 50% water savings
- Difficulty: Intermediate
Supplies
- ½-inch main supply line (100 feet)
- ¼-inch drip line (for plant rows)
- Emitters (0.5–1 GPH, depending on plant)
- Pressure regulator (cuts water pressure to 20 PSI)
- Timer (set-and-forget, battery or electric)
- Drip line stakes (to hold tubing in place)
- End caps and connectors
- Faucet-to-line adapter (for garden hose connection)
Tools
- Tape measure
- Knife or hole punch (for emitter insertion)
- Pliers (for tightening connectors)
- Shovel (optional, for burying main line)
Steps
Design your system on paper
Draw your garden to scale. Mark plant locations and group plants by water needs: tomatoes and peppers (deep but infrequent), lettuce and basil (frequent, shallow). Measure distances to know how much tubing you'll need. This 10-minute sketch prevents mistakes.
Install the main supply line
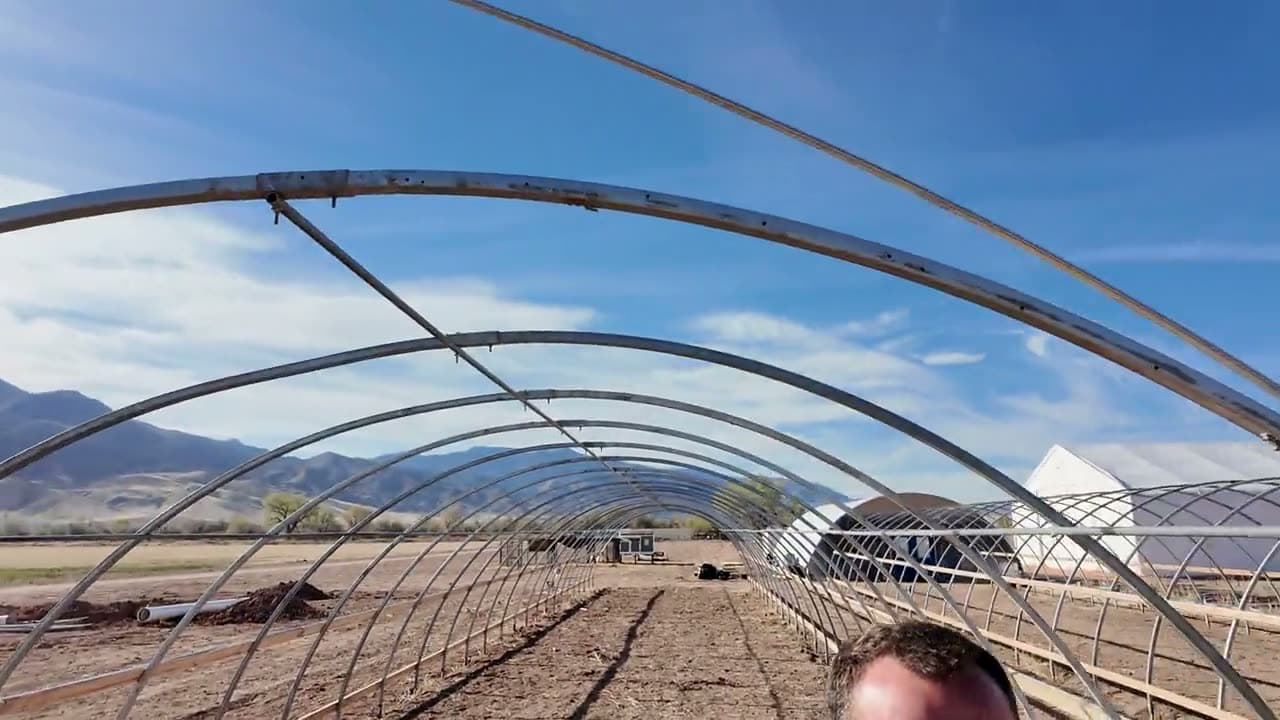
Connect a pressure regulator to your outdoor faucet (reduces pressure from 40–60 PSI to a steady 20 PSI—drip emitters need low pressure). Run ½-inch main line from the regulator to the far end of your garden, along the perimeter if possible. Secure with stakes every 6 feet. This is your backbone.
Attach ¼-inch drip lines
At each plant location or plant row, connect ¼-inch drip line with tee connectors. Run drip line along the base of plants. For rows (tomatoes, peppers), lay drip line down the row and use emitters spaced every 12–18 inches. For scattered plants (herbs), run one line per plant.
Install emitters
Punch holes in ¼-inch drip line at plant locations (use a hole punch tool) and insert emitters. Choose emitter type: 0.5 GPH for herbs and leafy greens, 1 GPH for tomatoes and peppers. Mark each plant's needs with a stake so you remember.
Flush the system
Remove all end caps and run water through the system for 5–10 minutes. This clears sediment and air locks. Then cap all open ends so water goes to emitters, not wasted at the end of lines.
Attach a timer
Install a battery or plug-in timer on the faucet. Set it for early morning (5–7 AM) so water soaks in before heat and wind increase evaporation. Start with 20 minutes every other day and adjust based on soil moisture (stick your finger 2 inches deep—if it's moist, you're good).
Pro Tips
Mulch over drip line. It keeps soil cool, reduces evaporation, and hides the aesthetic "spaghetti" effect.
In Utah's alkaline water, mineral deposits can clog emitters. Clean the system once a season (late summer) by flushing with extra water.
Group plants by water need. Tomatoes and peppers don't need to share a line with lettuce if lettuce needs more frequent water.
A simple soil moisture meter ($10) saves guessing. Check at 8 AM. If soil is above 50% moisture, skip that day.
Drip irrigation is easiest to install before plants are large. If retrofitting an established garden, lay lines carefully around roots.
Soaker hoses work but clog faster than emitter drip. If budget is tight, use soaker; if you want low maintenance, use drip emitters.
Warnings
Don't skip the pressure regulator. Drip emitters are designed for 20 PSI. At 60 PSI, they'll spray instead of drip.
Don't leave the system running all day. Over-watering roots cause rot and disease, especially in Utah's cool springs. 20–30 minutes 3–4 times per week is usually enough.
Research & Sources
- Drip Irrigation for Utah Gardens
Dr. Dan Drost, USU Extension Horticulture (2024) - Efficient Watering in High Desert Climates
Dr. Heidi Kratsch, USU Extension (2023) - Water Conservation in Agriculture
Utah State University Extension (2024) - Sevier County Water Management
Sevier County Extension (2023)
Frequently Asked Questions
Do I need a pressure regulator?
Yes. Without one, drip emitters spray instead of drip. It's the single most important component, and it costs $10–15.
How often should I water?
In Utah spring (cool, moist soil), 20 minutes 3x per week is often enough. In summer (hot, fast evaporation), 30 minutes 5–6x per week. Check soil moisture before increasing—over-watering is the #1 cause of root disease.
Can I add fertilizer to the drip line?
Yes, with a fertigation system (an injector that dissolves fertilizer into water). If you're new to drip, start simple. Add fertilizer as a separate soil application.
What happens in winter?
Drain the system before the first hard freeze. Open all valves and run water through to clear tubing. Blow out with an air compressor if you have one. Coiled drip can be stored in a bucket and reused next year.