The Nursery · April 28, 2026
Building a Greenhouse on a Budget: PVC, Plastic, and Persistence
A step-by-step guide to 80% of the greenhouse effect at 20% of the cost
Building a Greenhouse on a Budget: PVC, Plastic, and Persistence
We're going to be honest: greenhouse kits are expensive. Those polycarbonate-covered aluminum-frame structures you see in garden magazines? $5,000–$15,000, installed. For a family farm, that's real money.
But here's what we learned: you don't need a professional greenhouse to extend your season and start seedlings. You need a simple frame, some plastic, good ventilation, and realistic expectations.
We built ours for $800. It's not beautiful, but it works.
Materials and Tools
For a 12×16 ft greenhouse (192 sq ft, a solid starting size), budget roughly:
Materials
PVC pipe (3" and 2"): $250. 6-mil plastic sheeting: $200. Lumber for ground frame: $150. Fasteners, hinges, vents: $150. Autovent opener: $50.
Tools Needed
Circular saw, drill, PVC cutter (or use a saw), measuring tape, level, work gloves. Nothing you probably don't already have.
Step 1: Build the Ground Frame
Start with a rectangle of pressure-treated 2×6 lumber anchored to the ground. Level it meticulously. Use rebar driven through the frame into the soil for extra stability.
This doesn't need to be fancy. It just needs to be square and level. Get those two things right and the rest gets easier.
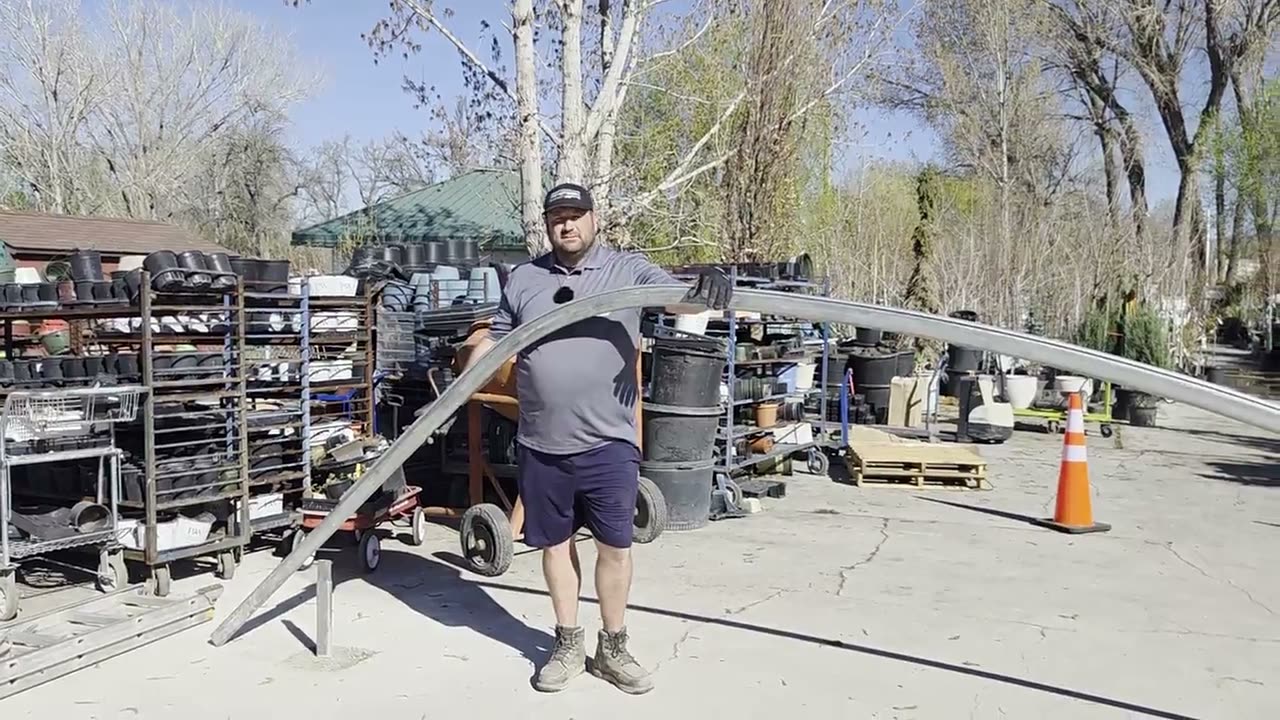
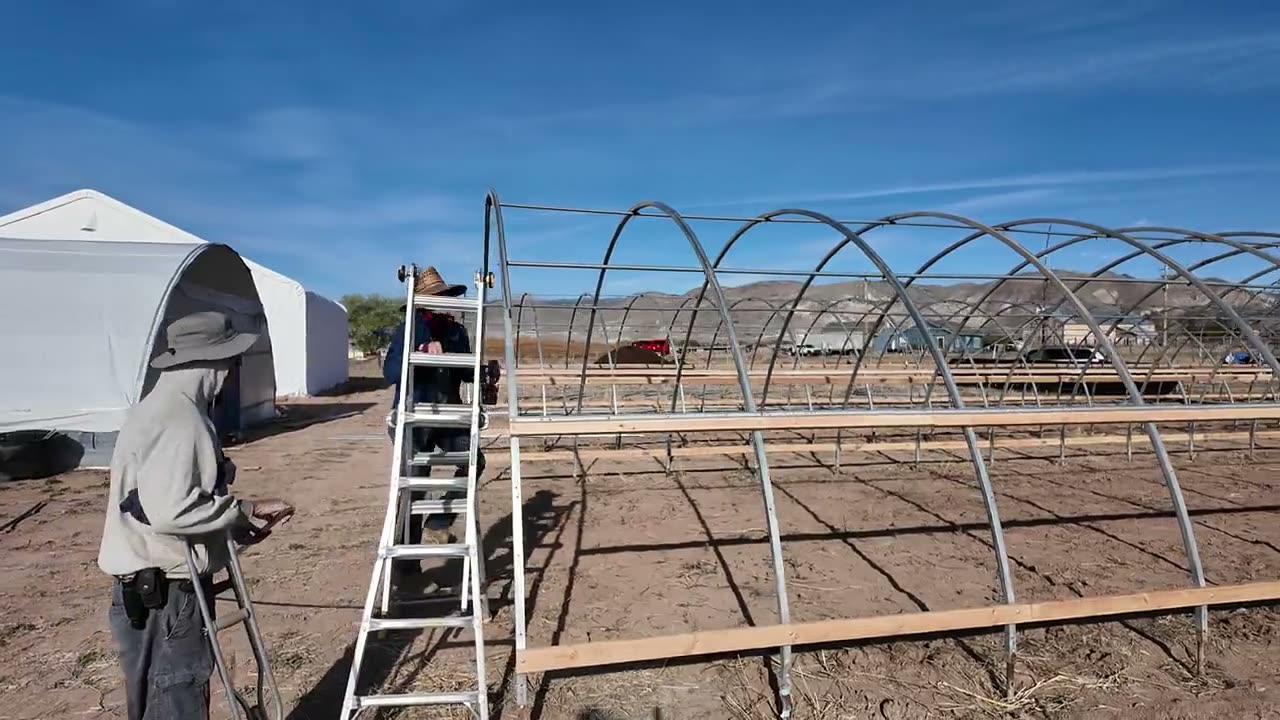
Step 2: Frame with PVC Hoops
Use 3-inch PVC pipe bent into hoops. The curve creates a natural roof and lets rain run off. Space hoops 4 feet apart along the length of the frame.
Bend PVC by heating it gently with a heat gun or by burying it in hot sand. Wear gloves—it'll burn you. Once bent, let it cool completely before moving.
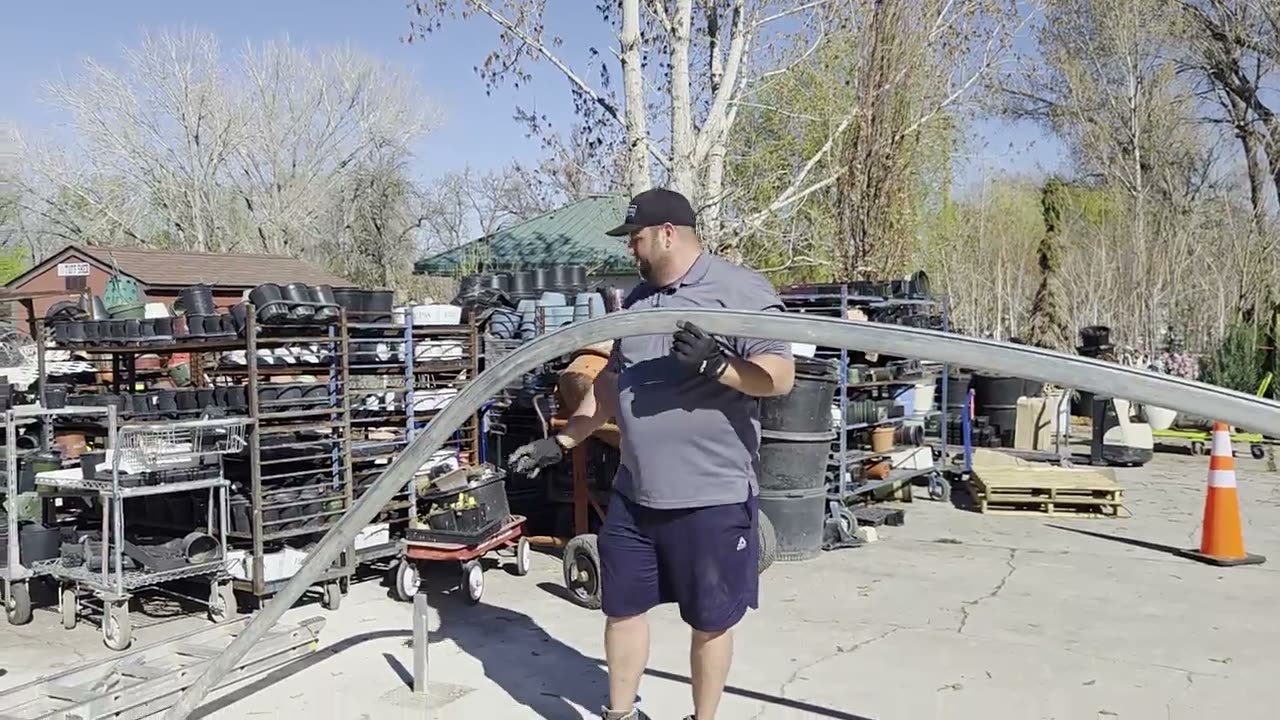
Bolt or clamp each hoop to the frame at the base. Add 2-inch PVC runs along the top and sides for stability. This creates a skeleton that's surprisingly sturdy.
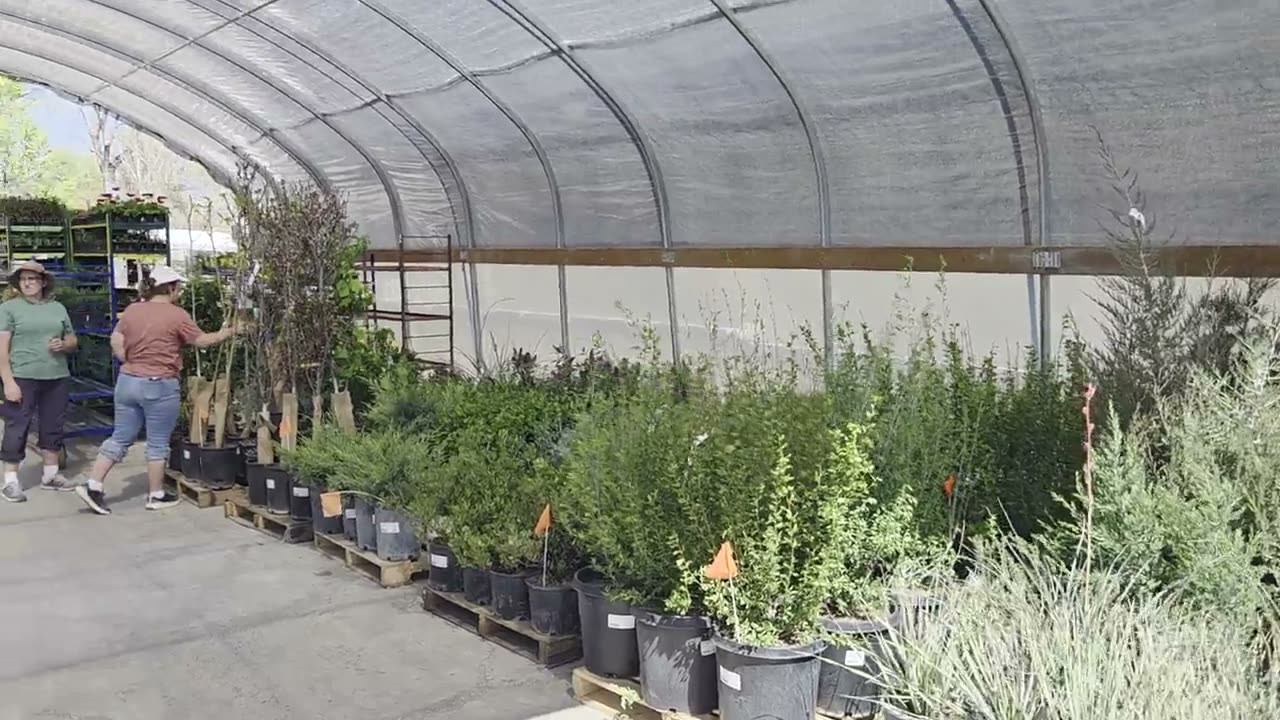
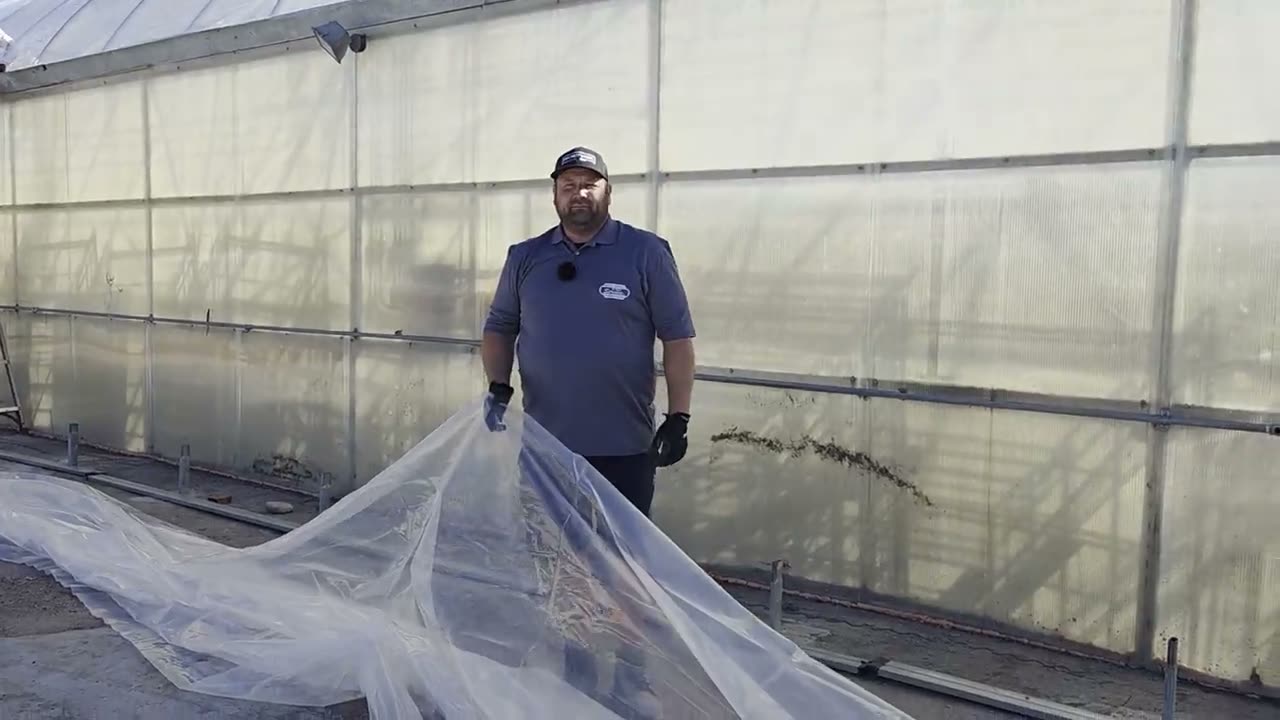
Step 3: Cover with Plastic
Use 6-mil UV-resistant plastic. Cheaper plastics (4-mil) degrade in one season. 6-mil will last 3–5 years if you treat it gently.
Unroll it over the frame on a calm day (wind is your enemy). Use burial landscape fabric staples or clamps to secure it to the lumber frame. Pull it taut but not tight—you need a little give for expansion and contraction.
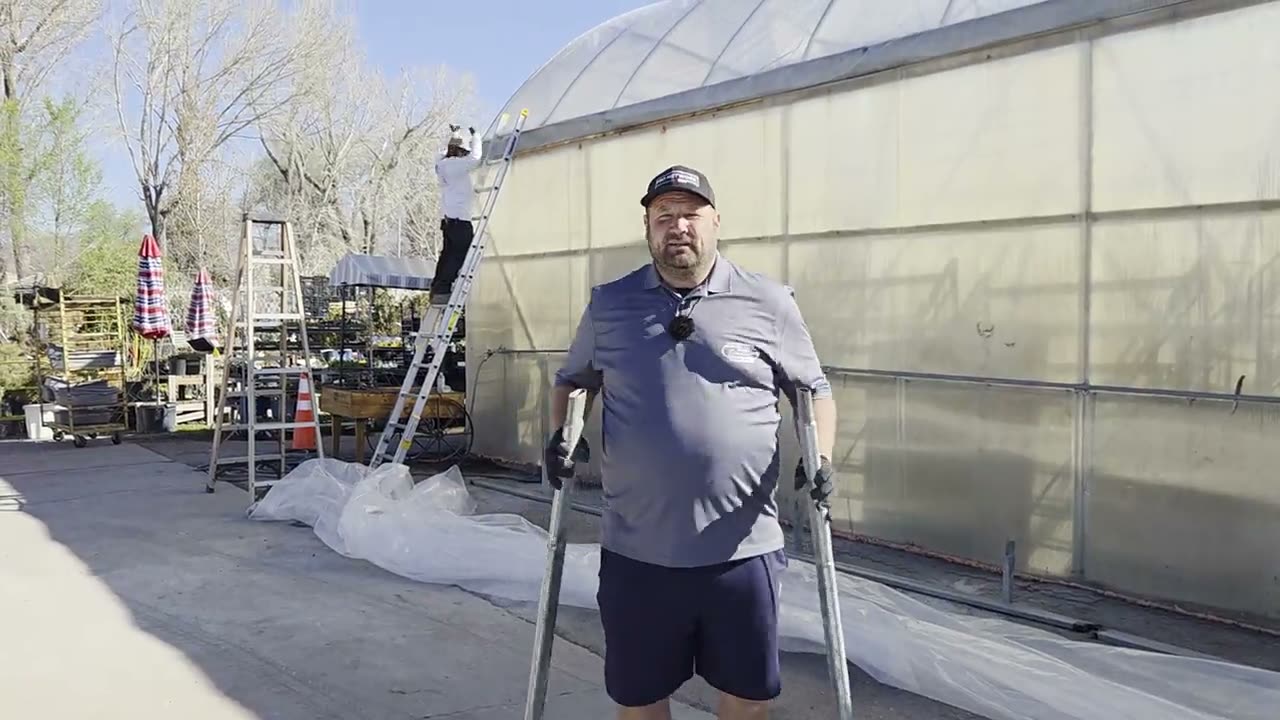
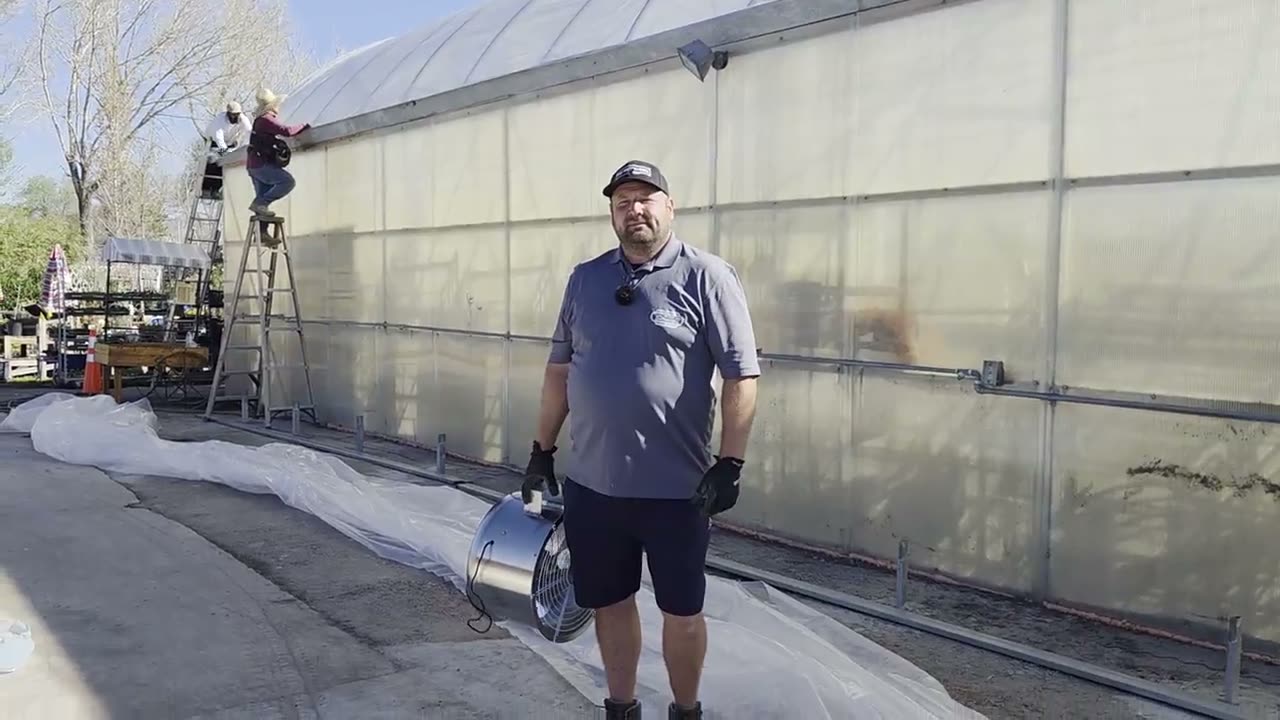
Step 4: Ventilation (Critical)
A sealed plastic greenhouse becomes a furnace in spring and an icebox in winter. You need vents—lots of them.
Cut vents into the plastic on the roof gable and sides. Frame them with PVC and hinge them with rope and carabiners. Install an autovent (a hydraulic device that opens vents when temperature reaches ~75°F). Cost: $50. Worth: priceless.
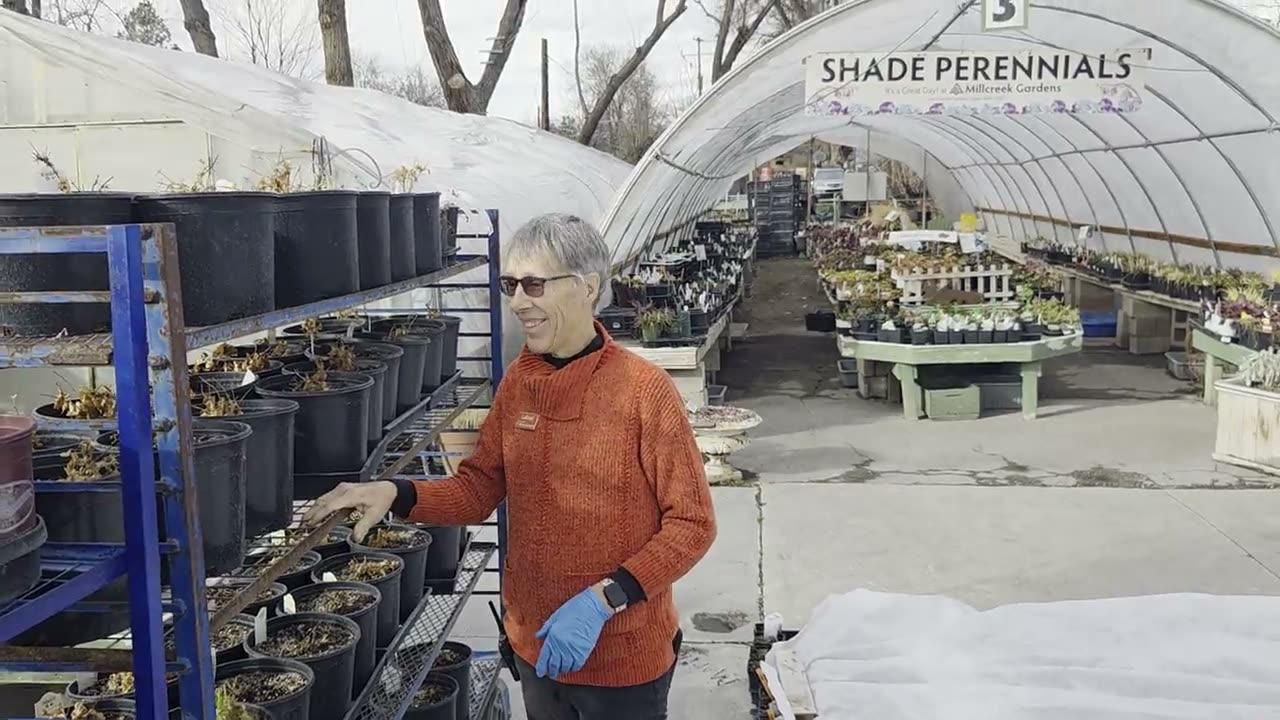
Step 5: Benching and Infrastructure
Build simple benches from PVC and plywood. Arrange them to leave a path down the center (you'll be walking it multiple times daily). Add shelving for potted seedlings.
Run a soaker hose or drip line so you're not hand-watering 500 seedlings every morning. Install a thermometer and humidity meter so you can see what's happening.
Real Talk: Limitations
Your PVC greenhouse will never be as climate-stable as a real greenhouse. Temperature swings are bigger. Humidity is harder to control. Pests love the warm environment just as much as your plants do.
But here's the upside: it works. In March, we're starting seeds and keeping them growing. By May, we have healthy transplants ready to set out. In October, we're extending the harvest on cold-hardy crops.
If you're serious about year-round growing or don't want to deal with plastic replacement, invest in a real greenhouse. But if you just want to start seeds and extend seasons, a budget-build greenhouse might be exactly what you need.